
By Duncan Griffiths
With modern external pumps using modern induction type motors while there are a few moving parts the fact is that there are very few parts that contact other parts creating wearing surfaces. When you compared to older motors where there were carbon brushes that contacted an Commutator on the armature wearing the surface of the Commutator and the brushes themselves this does not exist in a modern motor.
What this means is the only surfaces that are in contact with another surface are the bearings and the seal, the armature has quite clearance between itself and the magnetic surfaces that drive it so no wear takes place here provided the bearings are well maintained. And as stated the only other wearing part is the seal, but this is spring loaded and self adjusting and need very little attention and in this case bets left to the experts to drive new one in place. But there is not reason why you cant strip and replace the bearings themselves this takes very little expertise and specialised tools and can be completed quite quickly.
I have two sequence 750 which I have had in service now for over 10 years having changed bearings on them when they become noisy , thus rather than these pumps being consigned to the rubbish they are still as good as new and have cost very little to repair .
All bearings have a number code engraved into them on the face of the race, this is a generic number that refers to the outside diameter of the race ( hub size) the inner diameter of the race (shaft size ) and the thickness all makers of bearings use this coding system further there will be some letters after this number this denotes if the bearing has no dust seal one dust seal or two dust seals ( one each side) with this number you have all you need to obtain a new replacement and this can be bought form any bearing outlet I but all mine off e-bay for literally pence, the last I bought for my sequence were less than a fiver each( £5) there are loads of bearings for sale on ebay for pennies.
How do you know when a bearing is gone well obviously the pump will become noisy but to confirm this you will need to strip the pump and this is the purpose of this article to show you how . but basically once you have the bearing off if you rotate it in your hands you will feel it either rough rather than smooth or it will tighten up at a point in its rotation and this will happen every time you get back to this spot these are indicators that the bearing is shot , but to tell the truth they are that inexpensive they are best junked and replaced one you have got down to them. So how do your get them out? Well you need to strip the motor as follows.
Tools needed
Flat headed screw driver.
Philips crew driver
Set of grips
Soft hammer or a block to soften the blow of a harder hammer
A selection of small spanners and sockets from 8 mm to 13 mm
A three legged puller (also available for ebay really cheap or your local motor factors
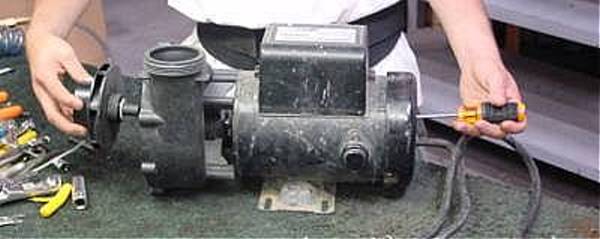
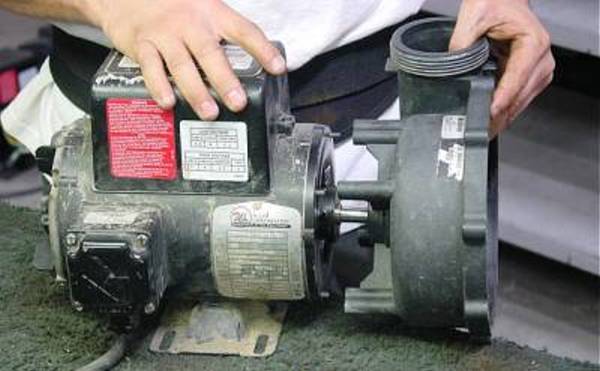
So to start off we need to remove the pump and place it on a bench and remove the wet end
A pump is made up of two major components what we call the wet end and the motor the wet end is where all the pumping takes place and where the impeller is that does the work

The wet end is held onto the motor in most cases by the bolts that hold the two ends on the motor these run straight through the motor ands screw into the wet end, thus holding the wet end on the motor and clamping the motor bearing housings on each end of the motor , so to get to do this first we need to open the wet end to get the impeller off the main motor shaft. To do this we undo the screws around the end plate of the wet end.
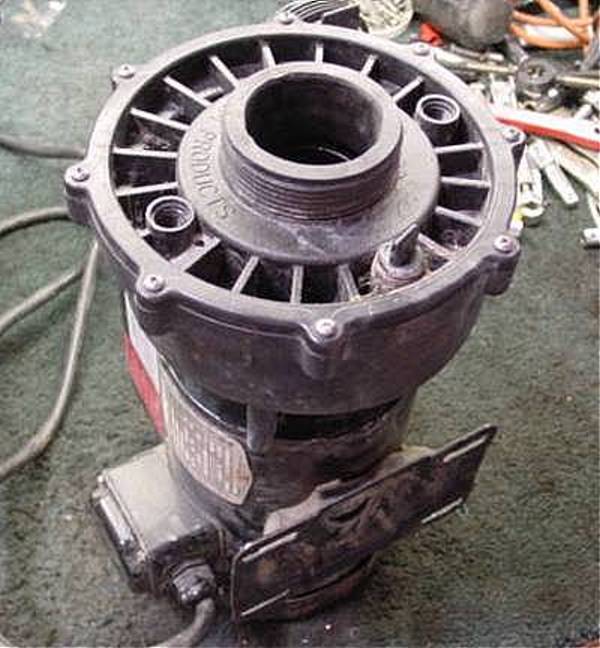
You can clearly see the screws around the edge of the end plate, You are as well to mark the position of this plate but usually there is a drain tap on most pumps this is always at the very bottom.
Once removed you will see the impeller
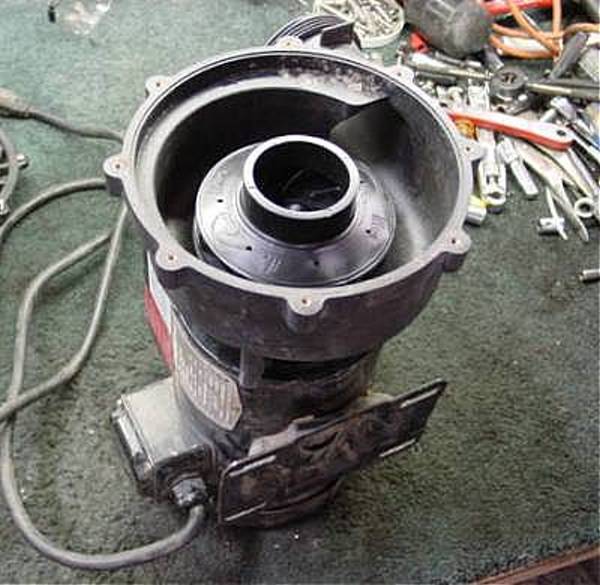
The impeller simply unscrews off the main shaft anticlockwise but to do this you need to hold the shaft stationary to do this you go to the other end of the pump and locate the shaft this will have a slot in it where you can insert and flat headed screwdriver
To do this I like to remove the end cover first and the motors cooling fan the end cover usually just clips on and although the fan us usually clamped on in many cases this can be pried off

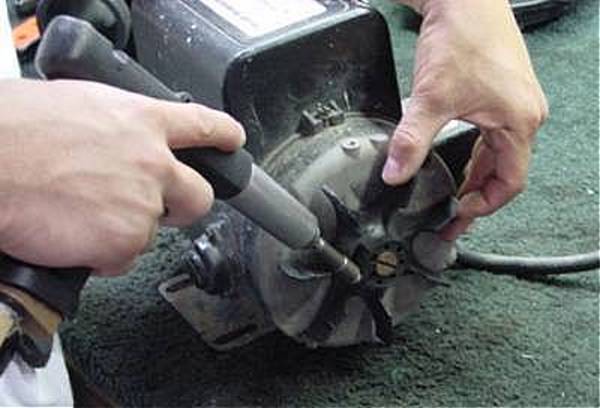
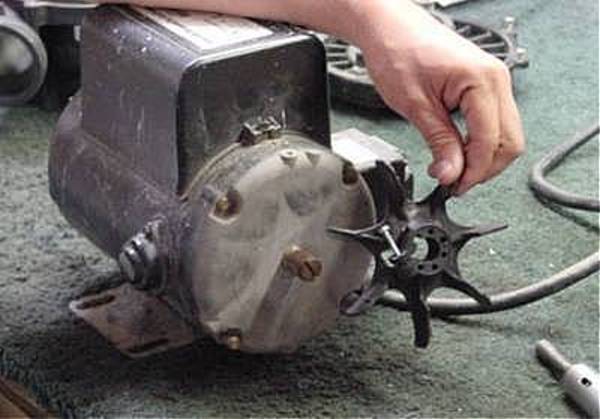
now there is nothing stopping the shaft being drawn throughn the rear end plater
You can now see the slot for your screwdriver or simply use a pair of grips to hold the shaft still while you unwind the impeller
Once this is complete you can now remove the wet end completely this is done by unscrewing the long bolts that’s have the heads on the back plate and run right through the motor to the front wet end
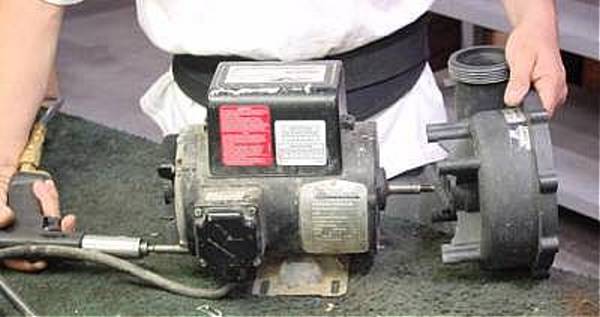
Ok, now we have the motor left with nothing holding each end in place (the bearing housings )
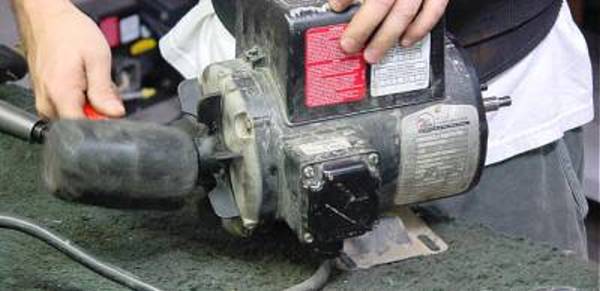
Holding the front shaft tap from behind with a soft mallet this will drive the rear bearing from its housing and the armature from the motor with the front housing still on the front bearing
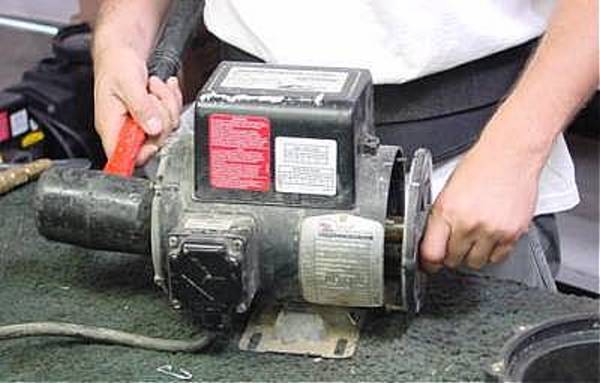
To remove the front housing support the edges of the front housing on a vice or across some wooden battons and hit the front of the armature again with a soft mallet to drive the armature and bearing from this housing
Now you have the armature with a bearing on each end at this point you can spin each bearing and see which ones have failed
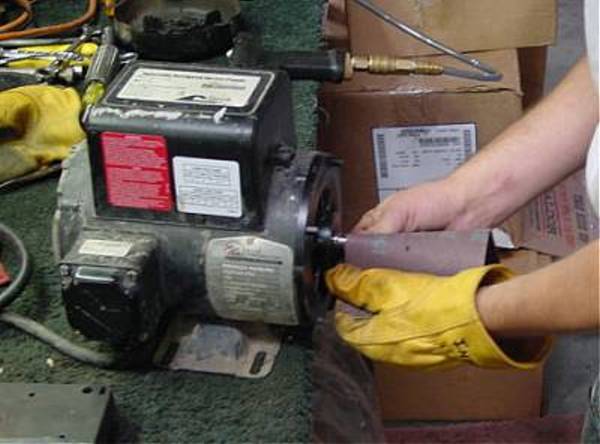
To remove the bearing and avoid damage to the shaft and its surfaces with are machined to exact tolerances a three legged puller is used.

You hook the legs behind the bearing and the centre screw on the end of the motor shaft hold the whole thing steady while you wind the centre thread and pull the bearing off
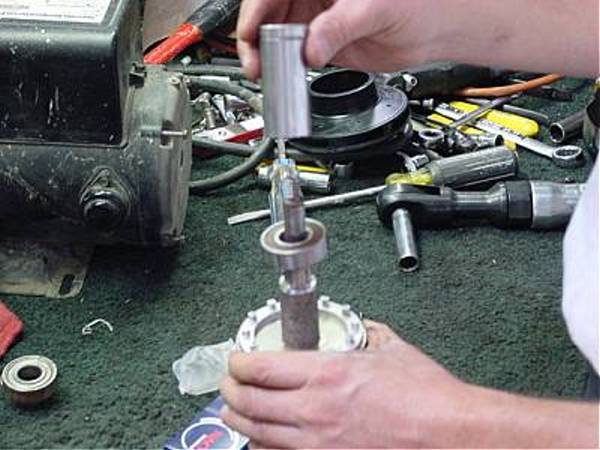
Next you put the new bearing in place on the shaft and using a deep socket place it over the shaft and on the bearing inner part of the race (not the outer) drive the bearing fully home. Note: make sure its all the way home and nice and solid up against its seat on the shaft
Repeat on the other end if you are replacing both bearings then your good to go again
Assembly is a reversal of disassembly with the addition of cleaning the shaft
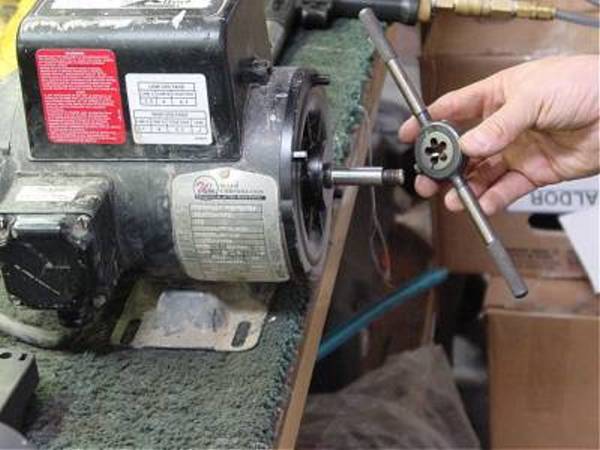
If need be and you have damaged the thread recut and straighten the thread back out
Tap the fan back on the other end
Finally install the wet end screw on the impeller nice and tight and fit the end cover plate remember to make sure the rubber o ring is in place under the end plate
all dry mount pond pumps disassemble this way but there are variations on the theme for instance one the 750 although it has the same long bolts running right through the motor the wet end is held in place by 4 bolts at the back of the wet end after thye implopler is removed to remove the wet end these dont need removing just slackening and the wet end is rotated a few degrees it can then be lifted off these scews and clear of the motor
What im saying is the principle is the same but some makes have slight variations on a theme but once you know this theory you can figure it out, once inside the motor the components and the assemblies are the same, but the point is this will save you a fortune and keep your pump in service
my thanks to William Lim of "wave" pump fame , for these photographs


